What you need
- A Windows or Mac computer that stays on while people use the workspace. Messages and files are kept on it.
- The OwnBase desktop app, free. It is both the server and the app you chat in.
- Nothing else. No router settings and no accounts with anyone, even to reach people outside your network.
-
Install the desktop app
Download OwnBase for Windows or Mac from the download section, and install it like any other app.
On a Mac, Apple hasn't signed this alpha yet. The first time, choose Open Anyway in System Settings, Privacy & Security.
-
Start hosting
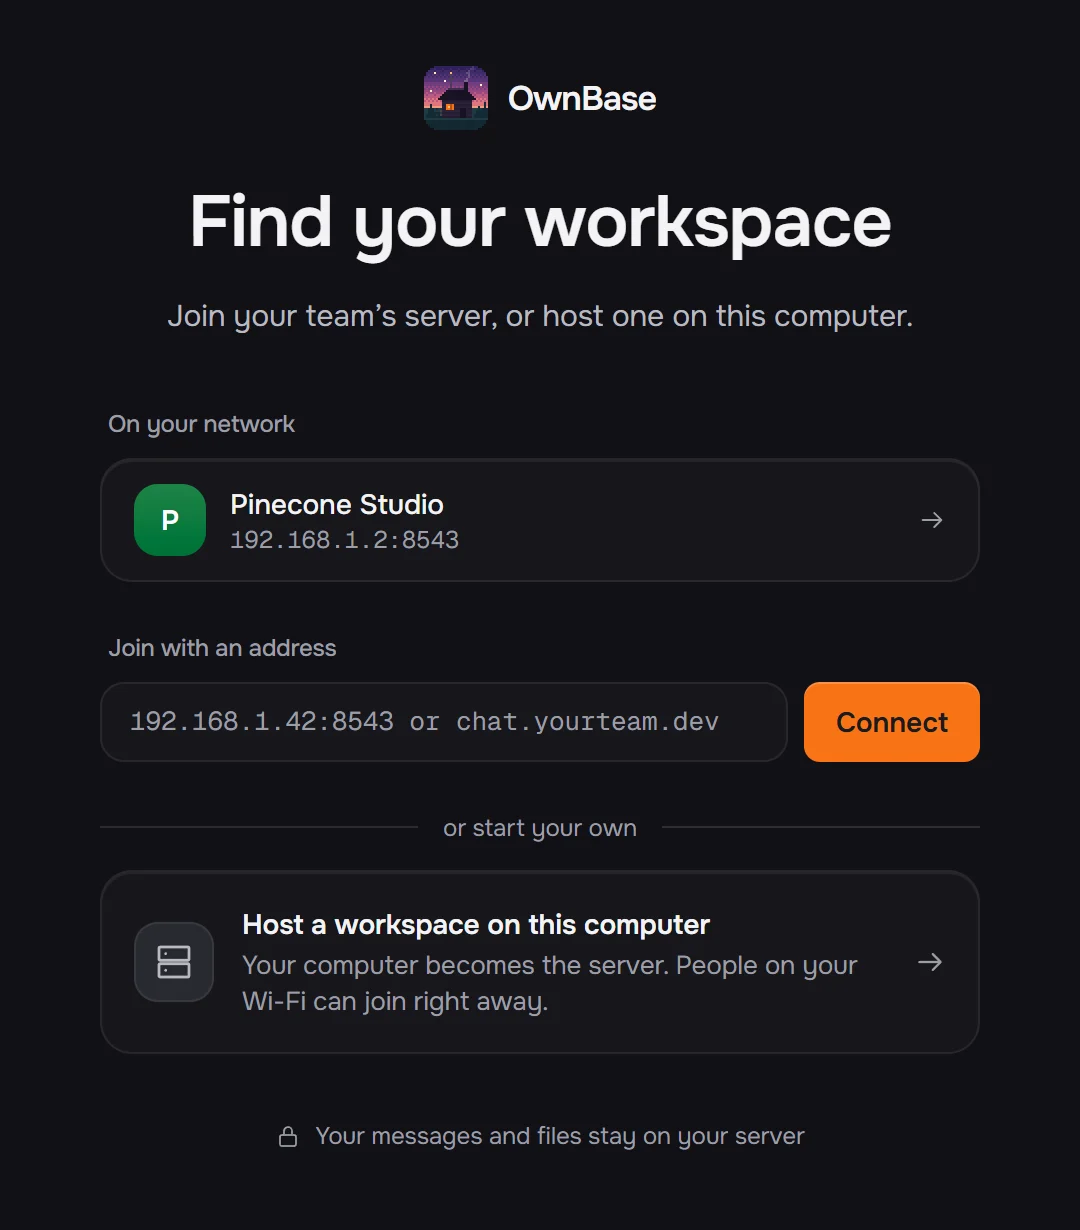
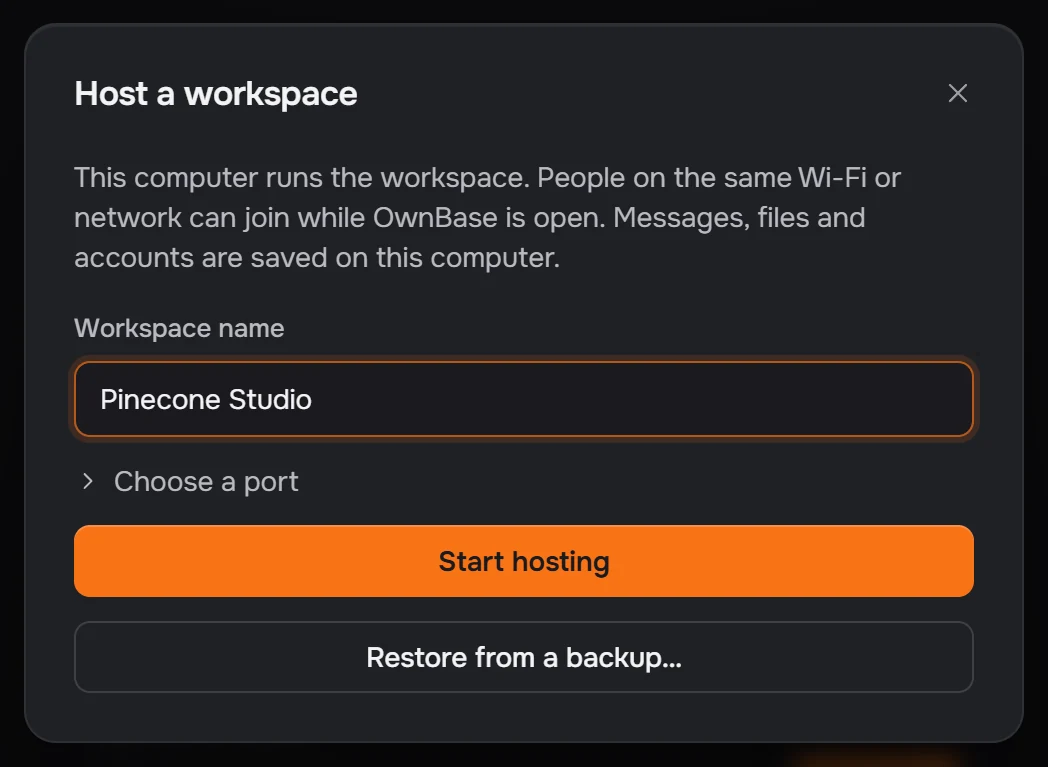
On the first screen, choose Host a workspace on this computer. Give the workspace a name, such as your team's, and press Start hosting.
Your computer is now the server. The port is chosen for you; you can set one under Choose a port.
-
Make your account first
OwnBase opens the new workspace. Create an account: a username, the name people see, and a password of at least 8 characters.
The first account in a new workspace becomes its owner, so make yours before you tell anyone the address.
-
Bring in the people on your Wi‑Fi
Press Manage under the workspace's name. Manage hosting shows the address teammates connect at, and a QR code for phones.
Anyone with the desktop app on the same network sees the workspace on their first screen. Everyone else types the address into a browser. There is nothing to install.
Reachable at
192.168.1.42:8543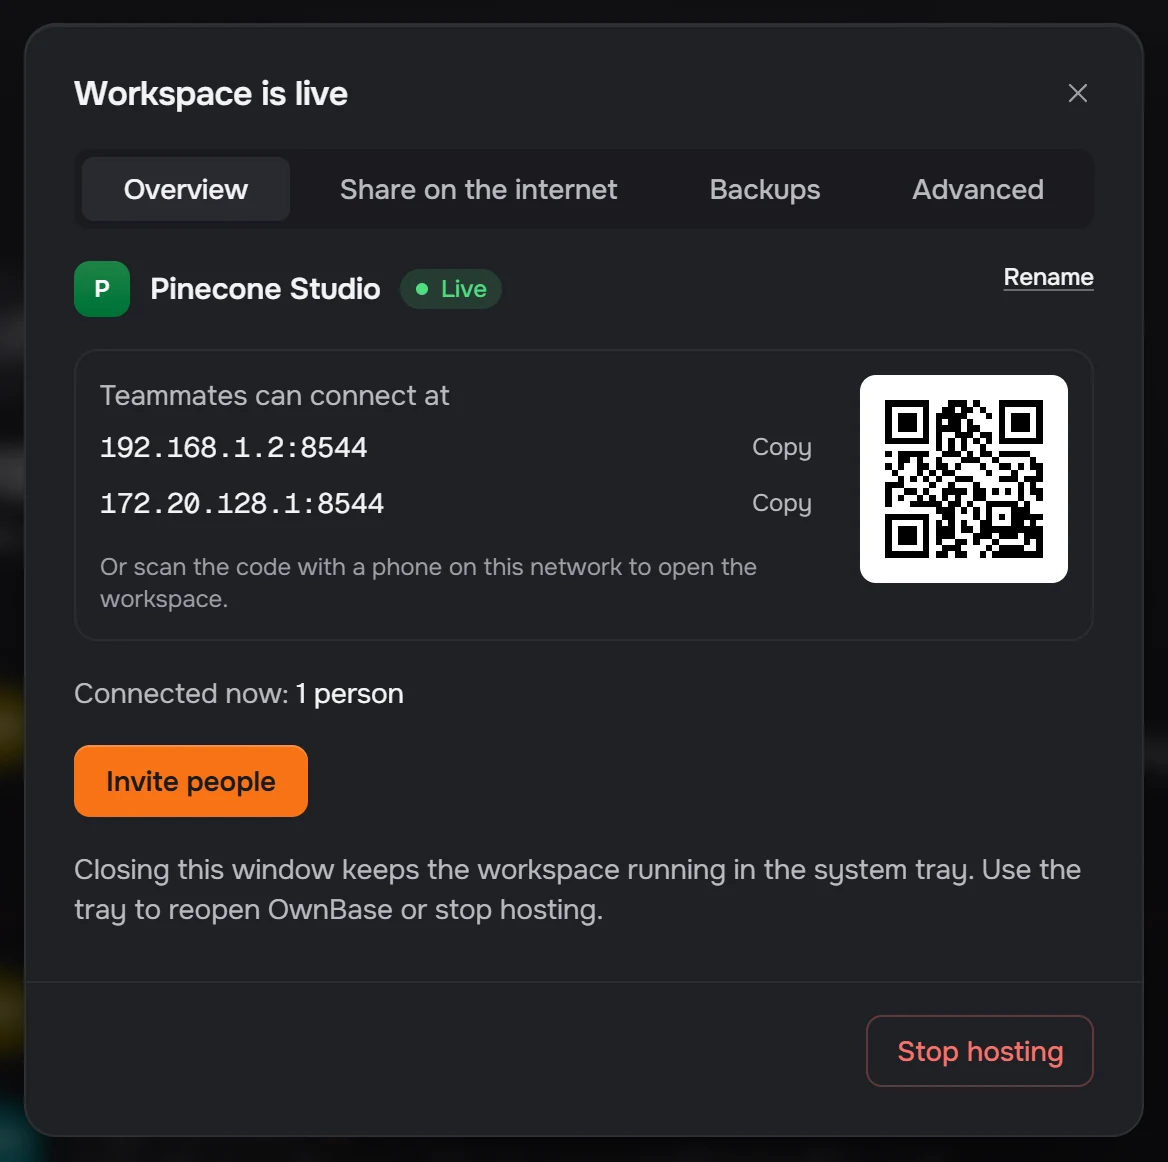
-
Open it to the internet Optional
For people at home or on mobile data, open Share on the internet in Manage hosting and press Get a public link.
OwnBase starts a Cloudflare Quick Tunnel and gives the workspace an HTTPS address. There is no router to set up and no Cloudflare account to make. If the computer doesn't have cloudflared yet, OwnBase offers to install it.
The address changes each time you open the link. For one that stays, enter your own, such as a Tailscale Funnel or a reverse proxy. Under Who can join, keep People with an invite, so only people you invite can make an account. Anyone, guests included also lets people in for a day with only a name.
Reachable at
https://lantern-maple-quiet-river.trycloudflare.com 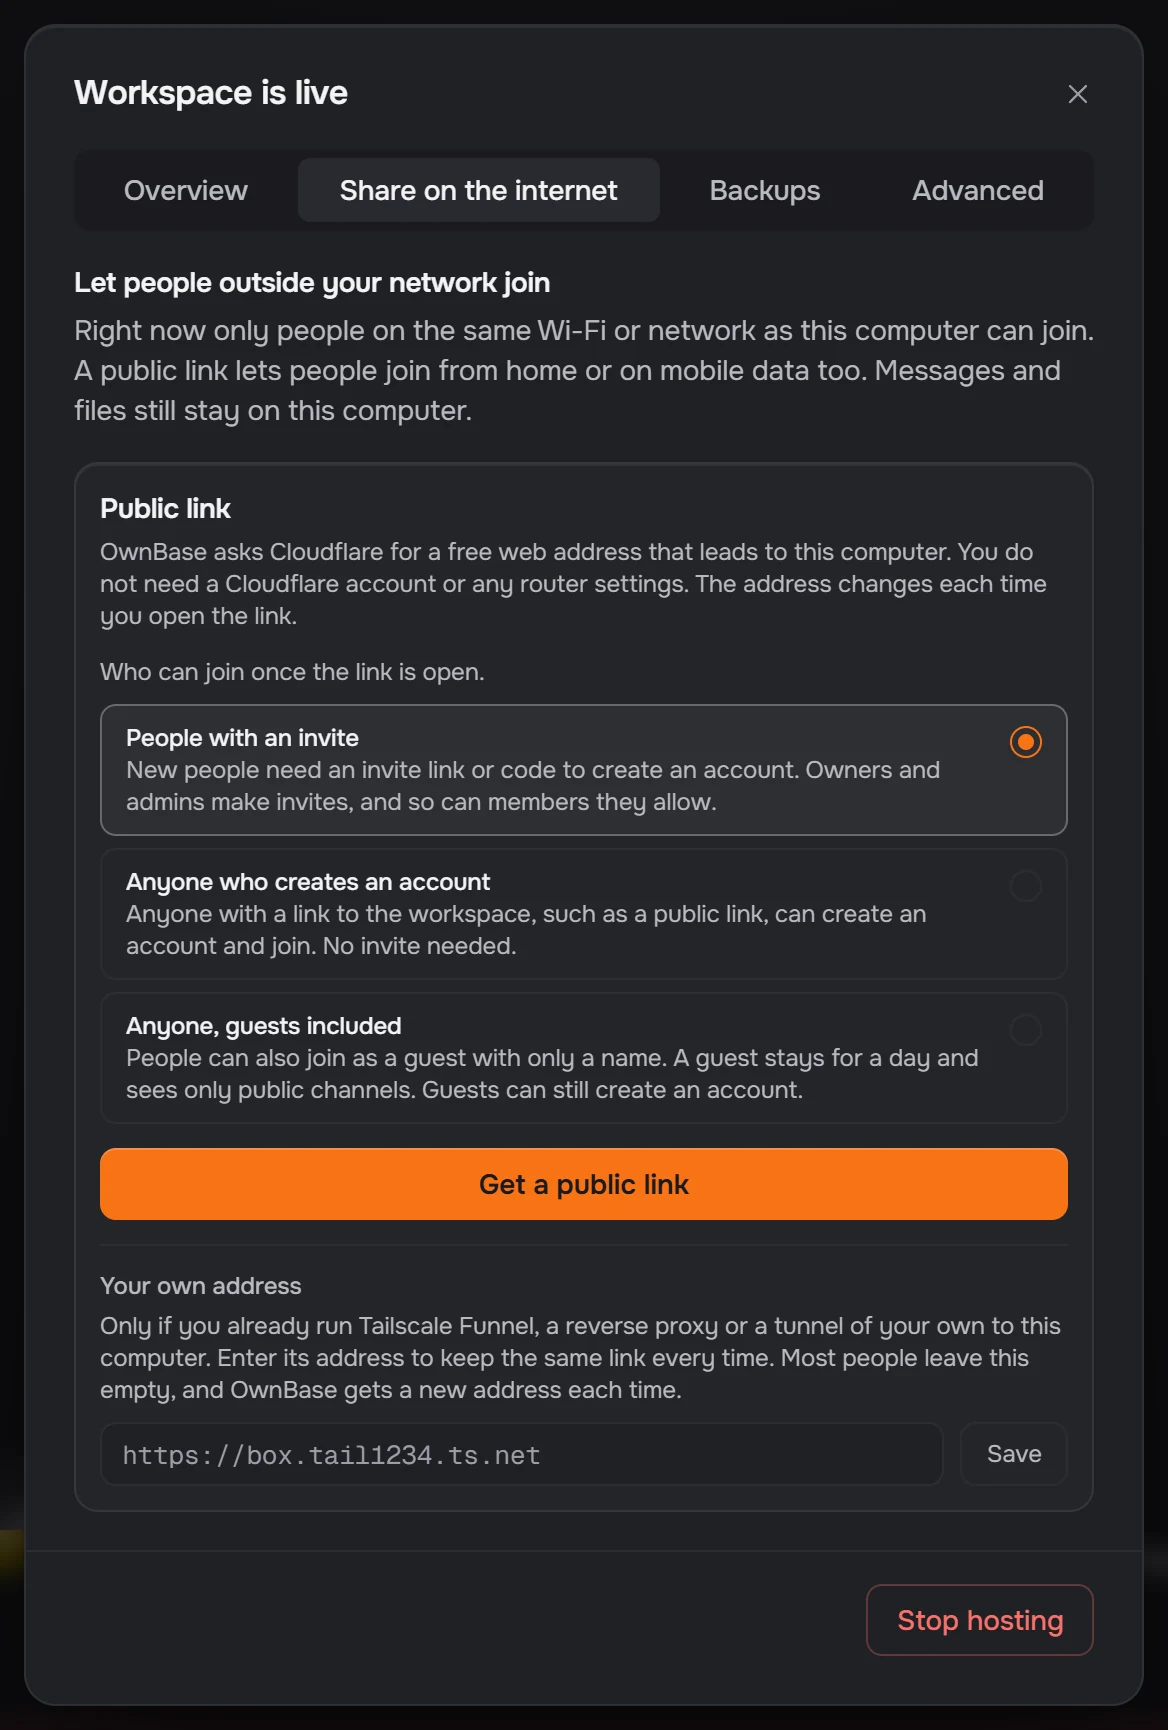
-
Send an invite link
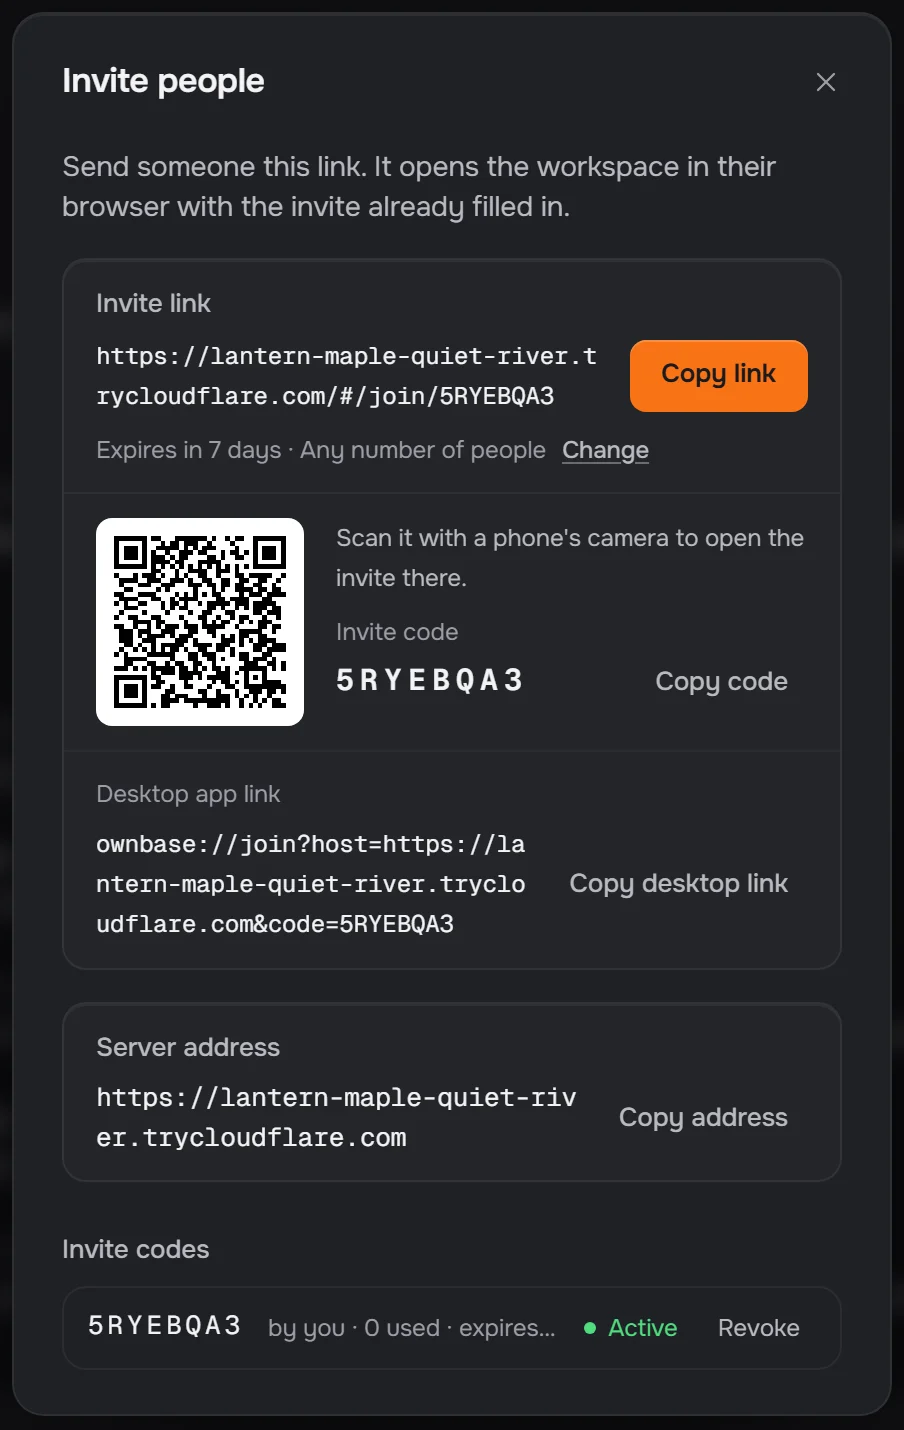
Press Invite people in Manage hosting, or choose it from the menu under the workspace's name. Copy the link, or let someone scan the QR code.
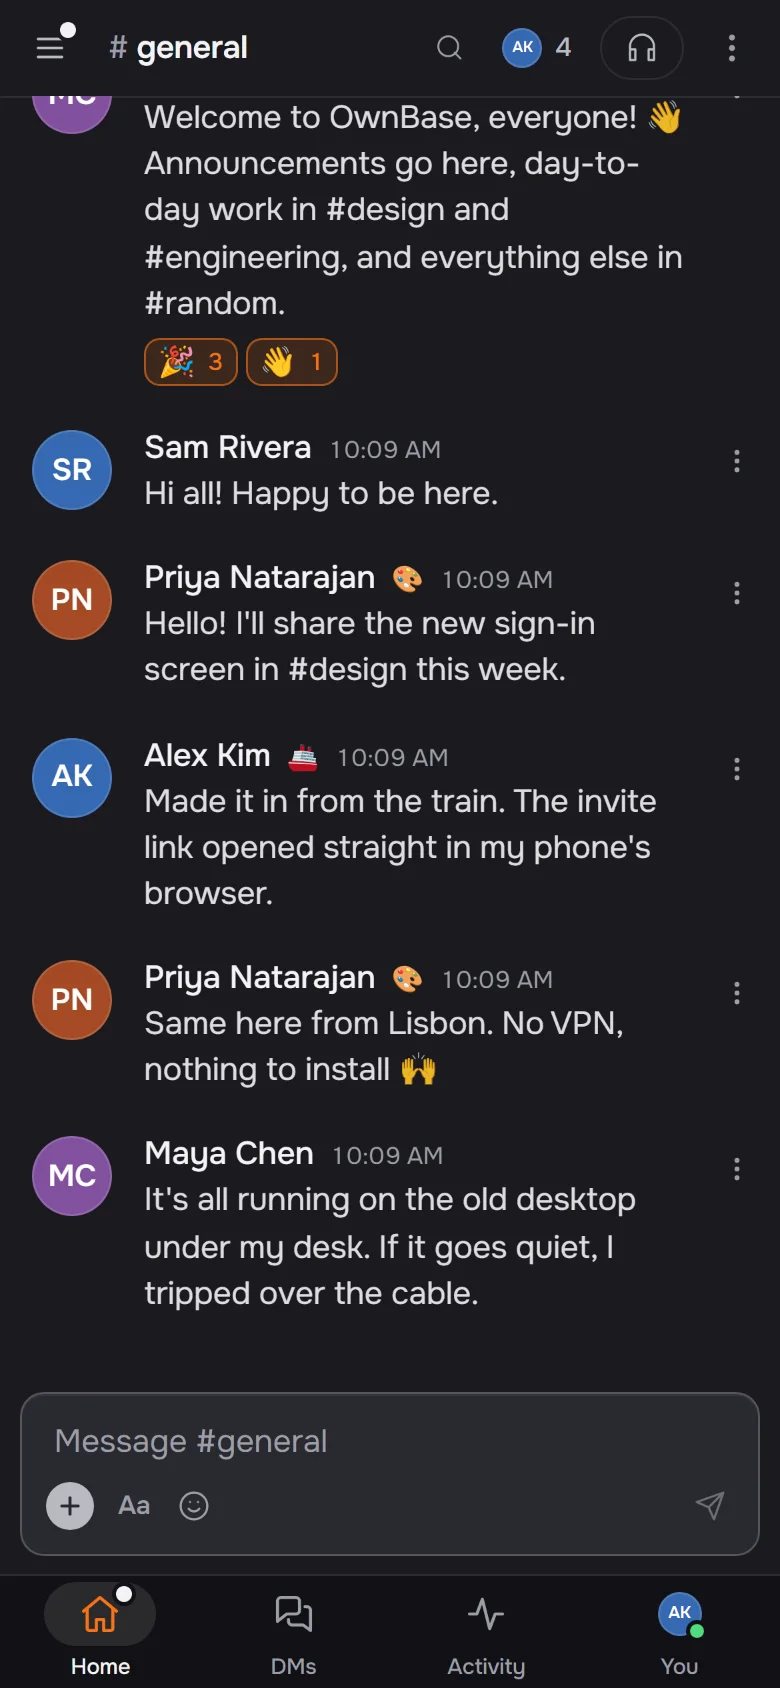
The link opens in any browser, on a laptop or a phone, with the invite already filled in. People who'd rather have the app can download it too.
-
Keep it running
Closing the window keeps the workspace running in the background. While the computer sleeps or is off, nobody can reach it; what people write meanwhile waits in their app and goes once it's back.
Turn on automatic backups under Backups in Manage hosting, daily or weekly. The whole workspace is one folder, so a backup is everything.
Under Advanced, tick both boxes: start hosting when OwnBase opens, and open OwnBase when you sign in to this computer. The workspace then comes back by itself after a restart. On Windows, OwnBase downloads updates on its own and installs them when it next restarts.
Later: move it to a server
The desktop app runs the same server you'd put on a VPS or a home server, on Node 24 or in Docker. Take a backup, restore it there, and everyone keeps their messages and accounts.